Operation Instruction for Laser Distance Meter-2
Continuous Distance Measurement
(Distance Tracking)
Under Continuous Measurement mode, the device automatically makes the measurements at regular intervals (about 0.5 seconds). You don’t need to press the On/Measuring button. All you need to do is constantly moving the laser beam to different targets that you intend to measure.
1. Long press the On/Measuring button for 2 seconds until the indicator for Continuous Measurement appears on the screen. The laser beam is activated at the same time.
2. Point the laser beam at the different targets one after another while the device makes the measurement automatically.
3. The measured distances will be continuously displayed on the screen while the maximum and minimum distances among them will be displayed on the 1st and 2nd lines.
4. The Continuous Measurement automatically terminates after 20 times of continuous measurements.
5. Press the On/Measuring button to manually terminate the Continuous Measurement.
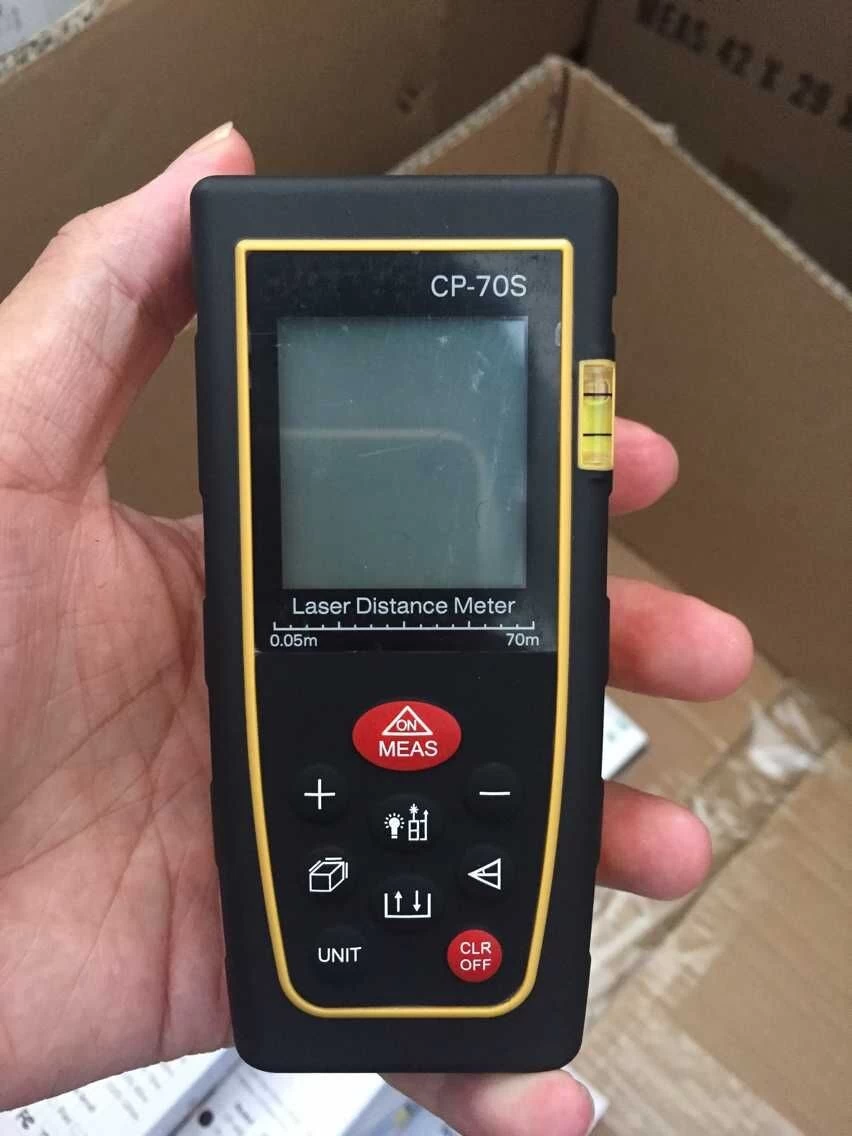
Adding and Subtracting Distances
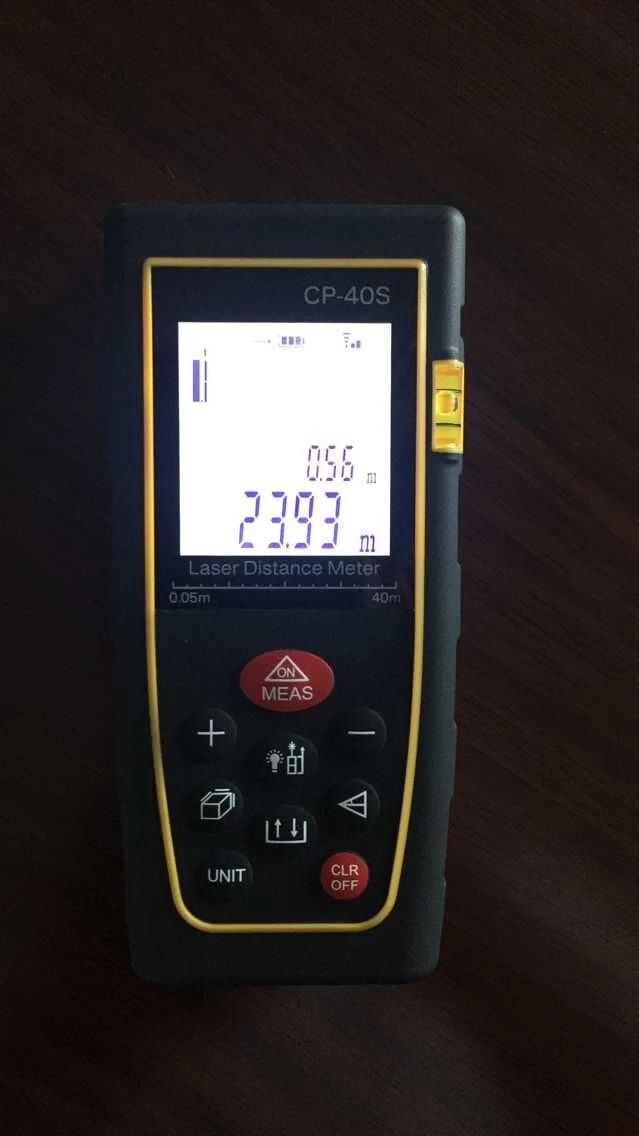
To add a measurement to an existing measurement displayed on the bottom line, press the Add button. The earlier measurement remains at the bottom line while a second line composed of “+” and five dashes “-” appears on the screen above the bottom line.
Then make another measurement, the device will automatically add these 2 measurements together and display the total amount on the bottom line while the second measurement being displayed on the second line.
To subtract a measurement from an existing measurement displayed on the bottom line, press the button. The earlier measurement remains at the bottom line while a second line composed of “-” and five dashes “-” appears on the screen above the bottom line.
Then make another measurement, the device will automatically subtract these 2 measurements and display the balance on the bottom line while the second measurement being displayed on the second line.


